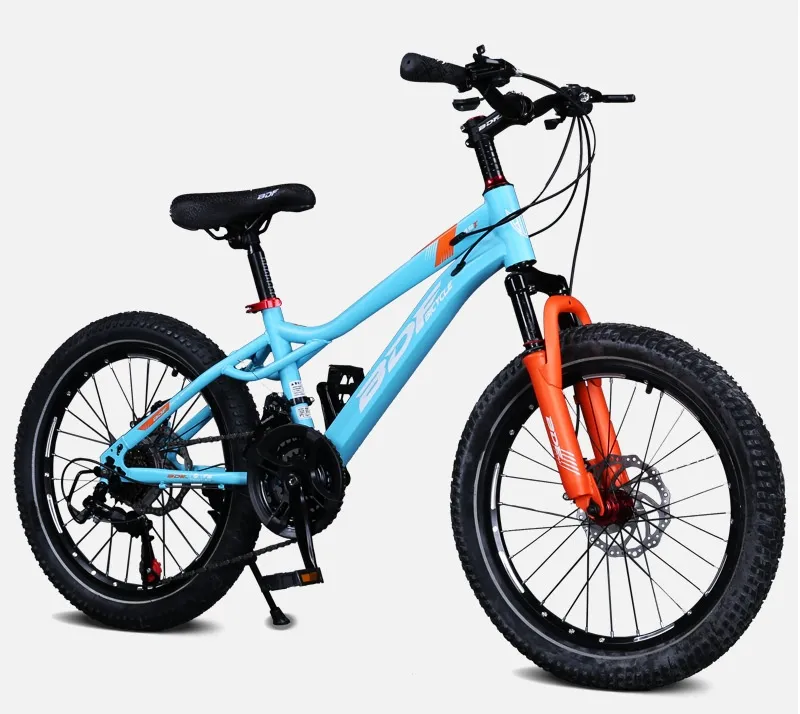
Creating Your Own Three-Wheeled Scooter for Fun and Adventure
DIY 3-Wheel Scooter A Fun Project for All Ages
Building your own 3-wheel scooter can be an exciting and rewarding project. Not only does it allow you to express your creativity, but it also gives you a sense of accomplishment once you see your completed creation. In this article, we will guide you through the steps of building a DIY 3-wheel scooter, including the necessary materials, tools, and a step-by-step process. Let’s get started!
Materials Needed
Before you dive into the building process, it’s essential to gather all the necessary materials. Here’s a list of what you’ll need
1. Deck A wooden board or a piece of durable plastic that will serve as the base of your scooter. The dimensions can vary based on your preference, but a size of about 24 inches long and 6 inches wide is suitable for most users.
2. Wheels You will need three wheels – two for the back and one for the front. Look for wheels that are at least 4-6 inches in diameter to ensure stability.
3. Axles Metal rods that will hold the wheels in place, allowing them to spin freely.
4. Steering Column A strong pipe or rod that will be used to steer the scooter. It should be sturdy enough to withstand pressure during use.
5. Handlebars You can use metal or plastic tubing for the handlebars, ensuring they are tall enough for comfortable grip.
6. Grip Tape For added safety, apply grip tape to the deck surface to prevent slipping.
7. Paint or Decals If you want to personalize your scooter, get some paint or decals for decoration.
8. Safety gear Remember to always wear a helmet and knee pads while testing out your scooter.
Tools Required
For this project, having the right tools will make the process smoother
- A saw (if you need to cut your deck or steering column) - A drill with bits (for making holes) - A wrench (to tighten axle nuts) - Sandpaper (for smoothing edges) - A measuring tape or ruler - A paintbrush (if you are painting your scooter)
Step-by-Step Building Process
Now that you have all the materials and tools, let’s move on to building your 3-wheel scooter.
diy 3 wheel scooter

Step 1 Prepare the Deck
Start by cutting the wooden board to the desired size if necessary. Sand the edges to remove any splinters or rough spots. Once it’s smooth, apply grip tape on top, ensuring you cover it entirely for maximum safety.
Step 2 Attach the Steering Column
Next, you’ll need to create a hole for the steering column on the front of the deck. Make sure the hole is snug enough to hold the column firmly in place. You can use wood glue or screws to secure it, ensuring it’s vertical for proper steering.
Step 3 Prepare the Wheels and Axles
For the wheels, drill holes at the back of the deck, spaced evenly apart. Insert the axles into these holes and secure wheels on both ends. Ensure that the wheels spin freely without wobbling.
Step 4 Install the Front Wheel
For the front wheel, create a hole at the front of the steering column. Attach the wheel using a smaller axle, allowing it to rotate when steering.
Step 5 Add the Handlebars
Cut the handlebars to your desired length and attach them securely to the top of the steering column. Make sure they are positioned at a comfortable height for steering.
Step 6 Decorate Your Scooter
Once the structure is complete, take some time to paint your scooter or add decals to personalize it. Let the paint dry completely before proceeding.
Step 7 Test Your Scooter
Before hitting the pavement, ensure all screws and bolts are tightened and check if everything functions smoothly. Wear your helmet and knee pads, then take your new scooter for a spin!
Conclusion
Building a DIY 3-wheel scooter is a fantastic way to engage in a hands-on project that combines creativity and engineering skills. Whether you're making it for yourself or as a gift, this scooter is a fun, practical addition to anyone’s outdoor gear. Remember that safety should always be your top priority, so never forget to wear protective gear when riding your scooter. Happy scootering!
-
Children's Tricycle: Enlarged Seat, Sunshade & Safety Push BarNewsAug.31,2025
-
Sports Kids Bike: High Carbon Steel Argon Arc Welded Frame | Beautiful GiftNewsAug.30,2025
-
Ultimate 24V Children's Car: Power, Fun & Safety for KidsNewsAug.29,2025
-
Children's Electric Car Ride Ons: 2-Seater, Bumper & Audi ModelsNewsAug.28,2025
-
Understanding Voltage in Battery for Children's Motorized CarNewsJun.05,2025
-
Safety Features to Look for in an Electric Car for KidsNewsJun.05,2025
